I’ve been wanting to make cheese using my milk kefir since I picked up my kefir grains. I haven’t tried it before because I wanted to become familiar with kefir and what to expect and how to use it in drinks before I tried anything as “difficult” as cheese. In actuality, it was really very easy. Here’s how I did it.
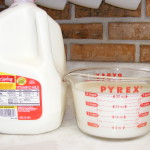 I started with 4 cups of kefir that I’d already prepared using 2% milk. (I know, I know, there are many natural foodies out there who will cringe when they read this, but there are also those new on the whole, natural foods path who will appreciate knowing that they can “start where they are”.) 🙂
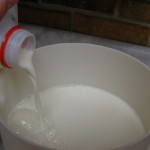 I poured the kefir into a gallon pitcher and filled it the rest of the way with whole milk.
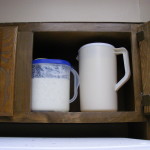 Then I covered the kefir and milk and placed the container in the cupboard (next to the kefir I use everyday).
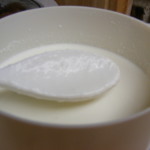 After one day, the kefir starter had already started turning the while milk into kefir.
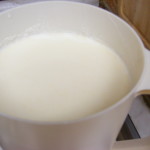 After 2 days it had developed a “creamy” look to it and was ready to go.
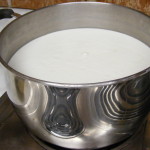 I poured it into a stainless steel pan and turned my electric stove on low heat. There are some people who say to NEVER use metal when handling kefir. This is true if you are using a reactive metal such as copper, brass, zinc, iron, or aluminum. Because milk kefir grains and milk kefir are naturally acid, if they come in contact with these types of metal the metal will leach into the kefir and can cause build up of these metals in the body. Using stainless steel, which is non-reactive, will not have the same results.
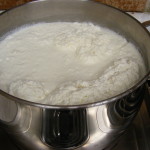 After an hour I could see the whey separating from the curds and after about 2 hours you could see the cheese forming.
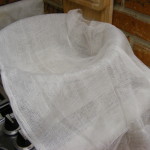 I lined a large bowl (large enough to hold a gallon of kefir) with cheese cloth and poured the kefir into the bowl.
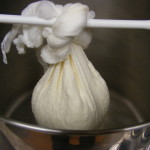 I gathered the corners of the cheese cloth and tied them together so the whey could drain out. Using a spoon that could span the width of the pan made it easy for the whey to drain without me having to squeeze it or stand there while it drained. Because I noticed that some of the kefir spilled out when I was pulling up the corners, I took some more cheese cloth and poured the whey/kefir mixture into it again and hung that beside the first to drain.
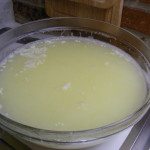 This is the bowl full of whey that was left. According to Nourishing Traditions, this can be used for many things, including home-made sauerkraut which I’m going to try making now that I have some whey. 🙂
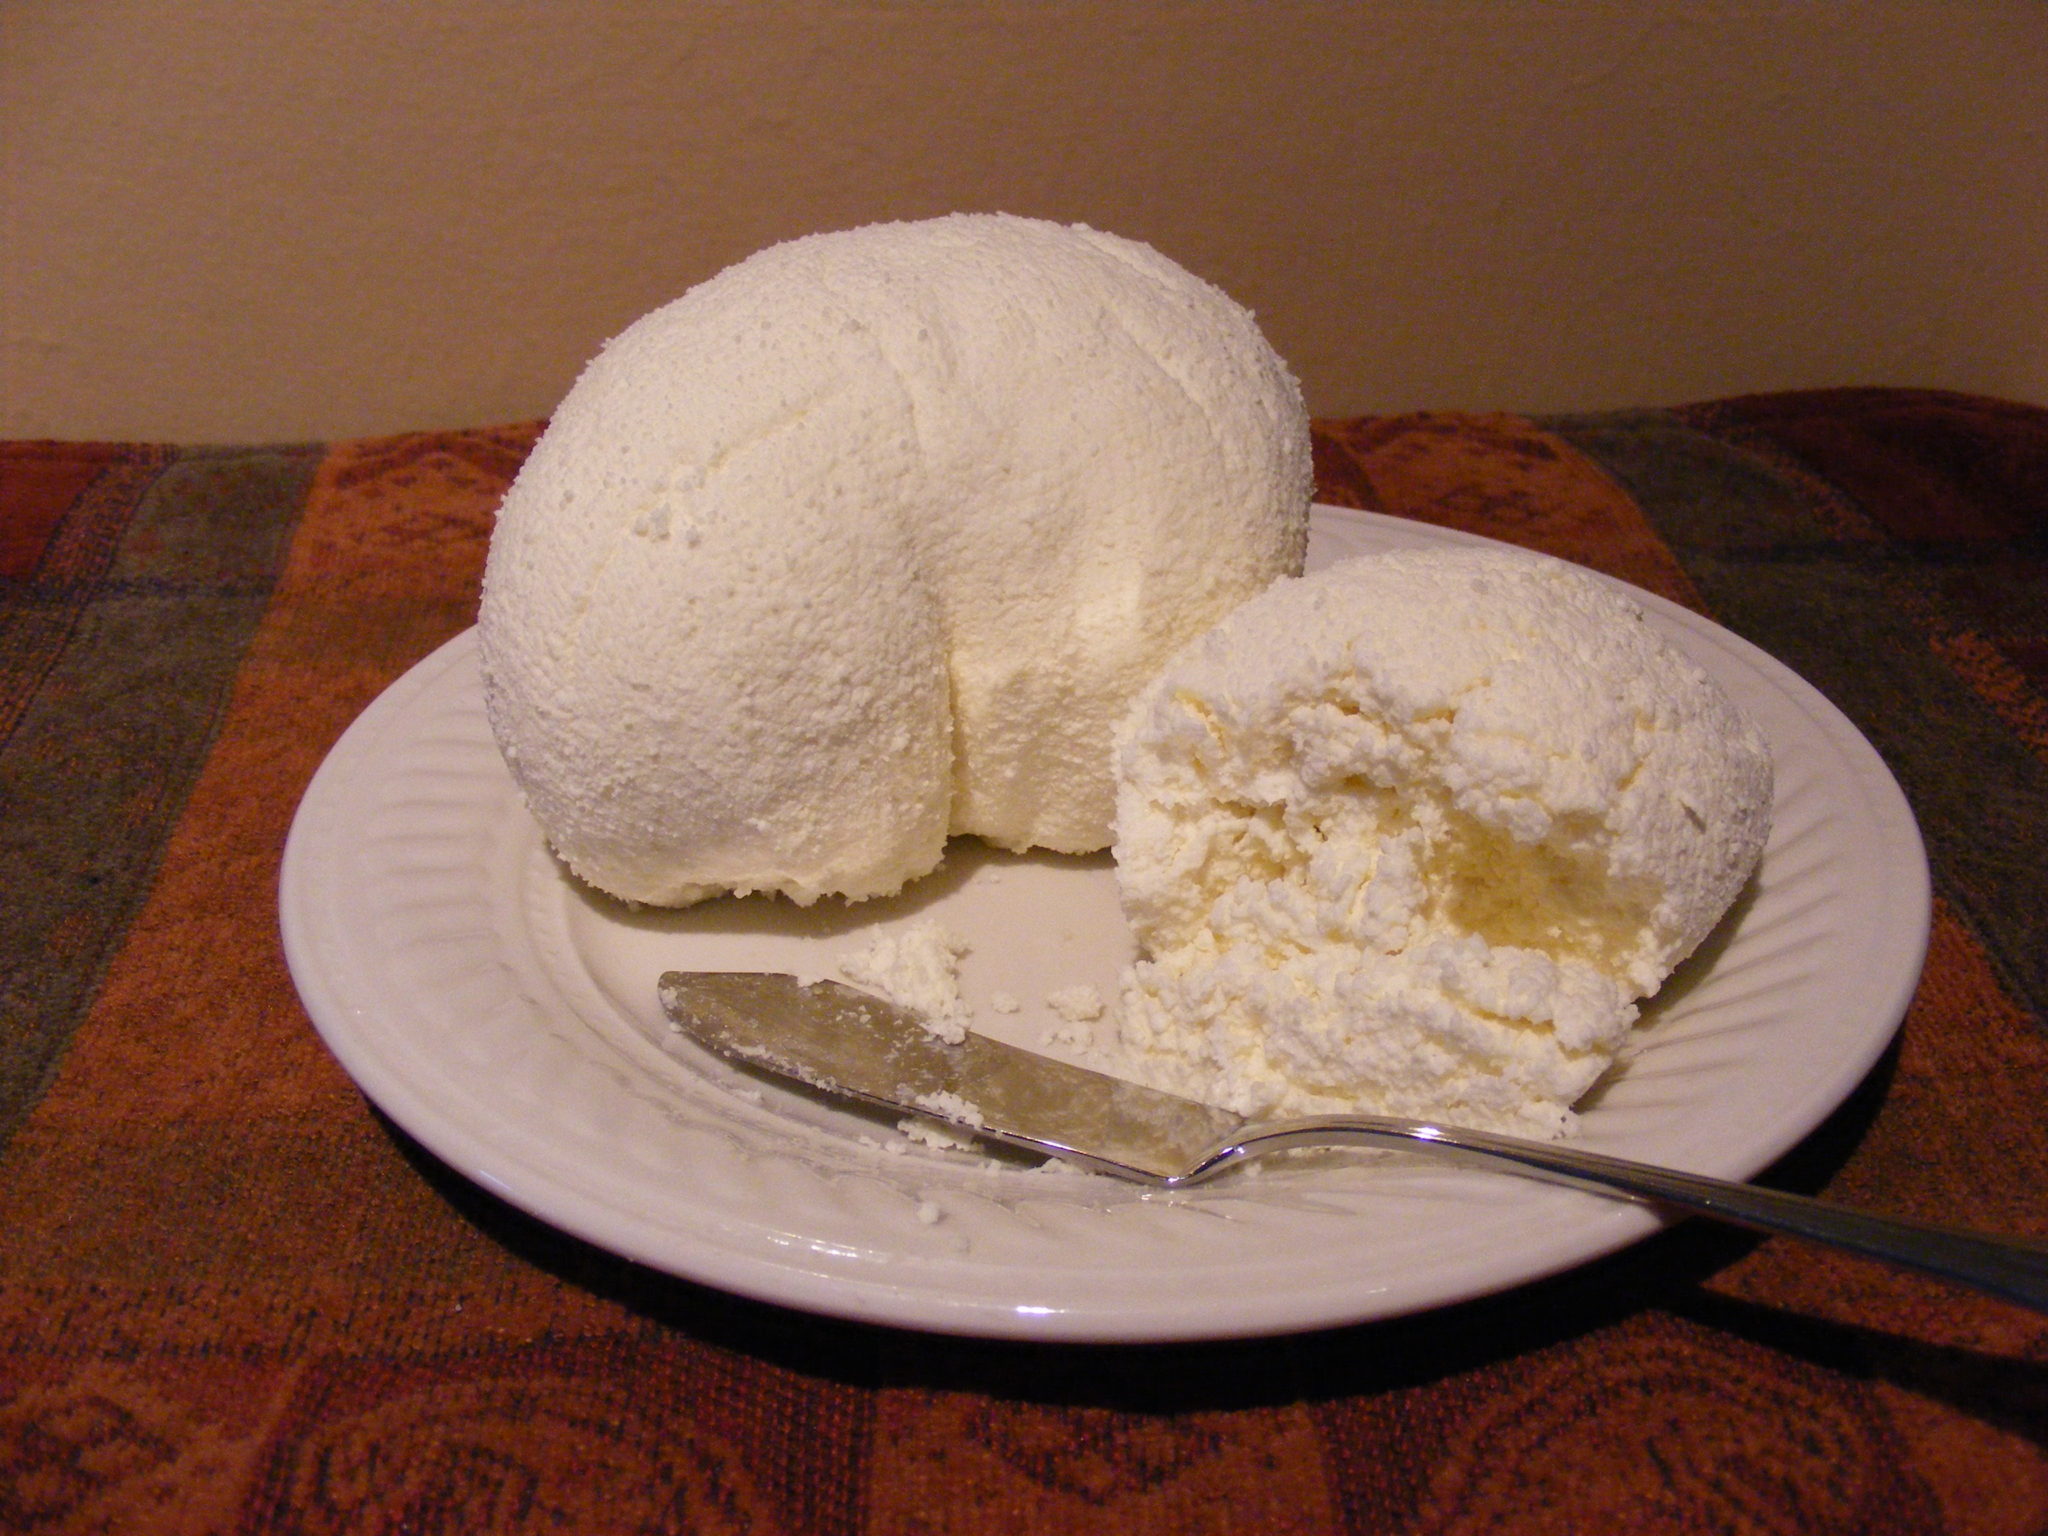
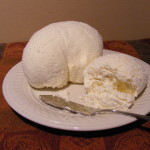 I let it drain for a few hours while I took care of some things around the house and when I unwrapped it, this is what I found! 🙂 The taste is very mild and pleasant, and the cheese can be used like cream cheese on crackers or like a feta cheese in a salad or like ricotta cheese in lasagna. You could add fresh or dried herbs, chives, garlic, etc. for a cheese spread too.
Note: Since this time, I’ve made kefir cheese by simply straining it through 3-4 layers of cheese cloth lining a mesh strainer. The cheese is creamier and sharper tasting.




Hi Kathy,
In your end note, do you mean that you no longer heat the cheese before straining, or just that you don’t wrap it as tightly so that not as much whey presses out?
Hi Cydne, 🙂
I don’t heat the kefir anymore. I take a strainer, line it with cheese cloth, and pour kefir into the strainer. Typically, I’ll use kefir that’s been in my refrigerator fermenting for a few days. The finished cheese product is a different consistency than when I used to heat it – it’s a softer, easier spreading cheese. Hope that helps. 🙂